Connect Stripe to enable payments
Integrating Stripe with DentalFlo AI allows your agents to send secure payment links to patients during calls or SMS conversations. This helps your clinic simplify billing, reduce manual work, and provide a smoother patient experience.
This guide explains how to:
- Connect your clinic's Stripe account to DentalFlo.
- Enable payment collection for solo agents and multi-agent flows.
note
DentalFlo AI currently supports payment integration with Stripe only.
Before you start
Before connecting Stripe to DentalFlo, make sure to:
- Enable your Stripe account to send payment links.
- Update the pricing and details of the products and services your clinic offers.
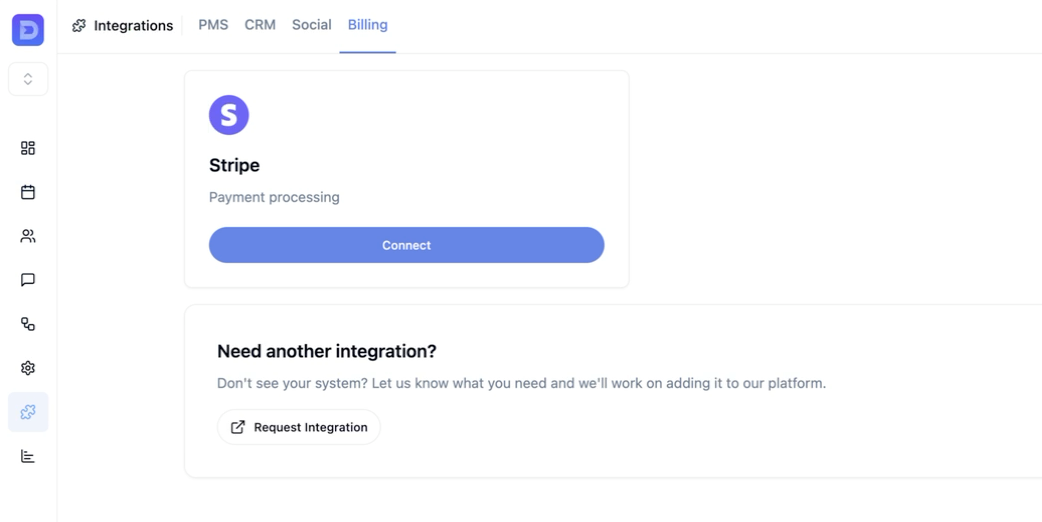
Connect your Stripe account to DentalFlo
- In DentalFlo, go to Integrations → Billing.
- In the Stripe section, click Connect.
- In the pop-up, click Connect Stripe Account. You will be redirected to the Stripe login page.
- Sign in to your clinic’s Stripe account and grant the required permissions. After successful integration, you will be redirected back to DentalFlo.
- Enable the payment tool for the agents that require payment collection.
Enable payment collection for AI agents
note
These steps assume you already have AI agents in your organization. To learn how to create and configure agents, see the Create solo agents guide.
Solo agents
- Go to Agents → Solo Agents.
- Open the solo agent you want to update.
- In Agent Configuration, expand Functions.
- Click + Add Function.
- From the Functions list, select Send Payment Link. This function sends an SMS with a Stripe payment link to the patient.
- After adding the payment function, select the product the agent should use to retrieve payment information.
note
The products shown in the list are retrieved from your connected Stripe account. If a product is missing or has incorrect pricing, update the product information in your Stripe account.
- Publish your changes.
Multi-agent flows
- Go to Agents → Multi-Agent Flows.
- Open the multi-agent flow you want to update.
- If not already present, add an agent for the payment tool:
- In the Nodes pane, drag a Voice Agent node into the flow.
- Connect the new voice agent node to the existing node you want it to follow.
- Click the new node to open its settings.
- In the settings, enable Tools.
- In the Nodes pane, under Tools, drag the Send Payment Link tool into the flow and connect it to the new voice agent.
- Select the product the agent should use to retrieve payment information.
- Publish your changes.